ffxiv gil

Final Fantasy XIV Botanist Levelling Guide

Final Fantasy XIV or Final Fantasy XIV Online is a Massively Multiplayer Online Role-Playing Game (MMORPG). FFXIV offers various roles for its players to choose from. You will be doing activities based on your role, such as exploration, raids, fights, etc. Most people prefer action, so they find raiding dungeons and slaying monsters a fun activity to pass their time. But there are other activities where you can just sit back and relax. You can do these activities when you want to take a break from the action but still enjoy the game.

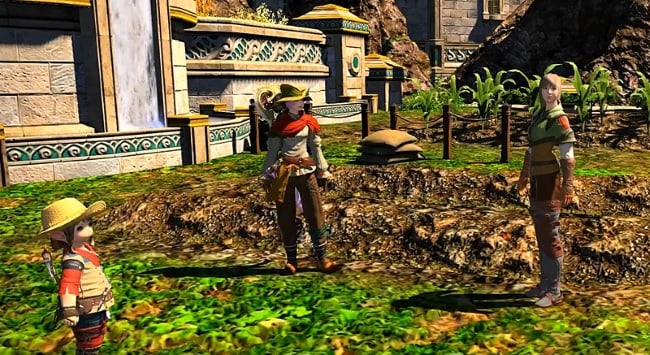
What is a better way to do this than strolling through the forests and collecting food and other natural resources. Final Fantasy’s Botany Class is the most suitable option for anyone looking to relax and do fun activities. This life skill is fun, especially for those seeking a vacation from saving the planet, as it involves everything from gliding from tree to tree to high-quality harvesting supplies. The following is a guide to help players advance from novice botanists to exceptional botanists. In this article, we will discuss the FFXIV Botanist Levelling Guide about how to get started to reach all the way to level 90.

Final Fantasy XIV Botanist

Getting Started – Reaching Level 20

In Final Fantasy XIV, if a player is looking to start their journey as a botanist, they must meet two requirements. The first requirement is that a player should at least rank level 10 in Disciple of Magic or Disciple of War. According to the second requirement, you must also have access to the city-state of Gridania. If you select the Archer, Lancer, or Conjurer job, this will be the case immediately. However, if your career places you in Ul’dah or Limsa Lominsa, it will take some time before you can travel to Gridania. In such a case, you ought to be well past level 10 when you reach Gridania.

Gamers must connect with the Botanist’s Guild receptionist in Gridania and get to know Fufueha, the guild’s leader, to begin their career as a botanist. The levequests for the trade skill will become available for acceptance following these events. You must focus on levels 1-20. They are easy to complete, and with the right resources, you will cover them in no time. In addition, you will get to collect various items during your quests. Here are the items you should be looking for.

  • For Levels 1 through 5 – The recommended gathering items are Mape Log and Earth/Wind/Water Shards, which can be found at Central Shroud and North Shroud, respectively. For levels 5 through 8 – the gathering item is Ash Log which can be found in both Central Shroud and North shroud.
  • For levels 8 through 20 – the Crow feather is the recommended gathering item. Crow Feather can be located at the Central Shroud.

You might wonder what to do with them since our guide advises gathering particular items to hasten the leveling process. Two methods are used. See whether you can utilize them in your recipes if you’re also leveling a crafting class. The elemental shards will probably be used, even if nothing else. Consider selling extra materials on the marketboard if you’re just going to stick to gathering for the time being. Although early-level transportation will only be worth a few Gil, it is still preferable to nothing. By the forties and fifties, you’ll find that there is more money to be made as you advance.

Also, here are the quests you will encounter as you progress from level 1 to 20:

Quest NameGathered Item(s)Quest Level
Way of the BotanistN/A1
My First Hatchet10x Latex1
Sap for Smiles10x Maple Sap5
Weapons of a Father10x Crow Feather10
Haste Makes Waste10x Marjoram15
Dressed to Harvest15x Grade One Carbonized Matter20

The Recommended gear sets for these quests are Amateur’s Double Set for levels 10 through 15 and Cotton Shepherd’s Gathering set for levels 15 through 22.

Final Fantasy XIV Botanist Guide

After the initial easy levels, you will require some starting Gil to fund your tools, food, materials, and other resources to progress further from here. You can fund your journey using the FFXIV Gil that you can get from our website. 

Visit our website MMOPixel to get FFXIV Gil. We only offer the best service.

Reaching Level 40

Since there will be a substantial jump in leveling at this point, players will gain from accepting levequests from important cities. Players are advised to accept the Carline Canopy NPCs since they will be in the city-state of Gridania for most of their gameplay. Botanists can also conduct leves in Eastern La Nocsea and the Costa del Sol. Accepting levequests before these levels are not advised.

  • For Levels 21 through 25 – The recommended gathering item is Yew Log which can be found at East Shroud.
  • For levels 25 through 32 – the gathering item is Gridanian Walnut which can be found in both South shroud.
  • For levels 32 through 37 – Oak Log is the recommended gathering item. It can be located at the South Shroud. 
  • For levels 37 through 40 – Mahogany Log is what you should be looking for in these levels. It can be found at Eastern La Noscea.

Also, here are the quests you will encounter as you progress from level 21 to 40.

Quest NameGathered Item(s)Quest Level
Aromatic Aspirations10x Marjoram25
What Nature Giveth15x Alligator Pear30
A Feast to Say the Least20x Laurel35
Crisis of Faith20x Ramhorn Zucchini40

The Recommended gear sets for these quests are the Velveteen Gown Set for levels 30 through 35 and the Cotton Doublet Vest of Gathering Set for levels 35 through 42. These gears can be located at Old Gridania.
Final Fantasy XIV Botanist Levelling Guide

Reaching Levels 41 to 60

When you reach this phase, you might wonder if it is the most tedious phase due to its slow progression. But looking at the positive side, you have learned a lot by the time you reach here. First, we should stress the importance of company-issued survival guides. Up until level 60, your Grand Company can assist you. At that point, you should resort to Revised Survival Manuals. These increase your experience gain for all gathering classes by 150 percent up to the top of their unique level range, which is quite impressive. Even after that, you can still use one for a 125 percent increase, so they’re not entirely useless. Finally, you probably have the Gatherers Scrips in your botany skills at this stage, so you can start saving for the nice stuff.

  • For Levels 45 through 50 – The recommended gathering item is Mirror Apple which can be located at the Coerthas Central Highlands.
  • For levels 50 through 60 – the gathering item is Rosewood Log which can be found in East Shroud.
  • For level 60 – There are 2 gathering items. These are Camphorwood Log and Bloodhemp. These items can be located at the Churnning Mists and the Fringes.

Also, here are the quests you will encounter as you progress from level 41 to 60.

Quest NameGathered Item(s)Quest Level
Botanist in a Bind20x Mistletoe45
Seeds of Hope3x Spruce Log50
Call from the CloudsN/A50
Onions of Life Bestowing10x Cyclops Onion53
Two Nations, One Seed10x Emerald Beans55
Love for Harmony10x Birch Log58
Seeds Know No Borders3x Chrysahl Greens60
Never Meet Your HeroesN/A60

The recommended Gear Sets for this phase are Boarskin Jarkin Set for levels 43-48. It can be found at Old Gridania. You can also find Raptors Jerkin Set at the same location to be used for levels 48 to 53. The other gear set is Botanist’s Set for levels 50 to 60. It can be found at Rowena’s Representatives.

Reaching Levels 61 to 80

As players have access to new features to aid in leveling up their botany career, the grind gets a little bit easier at this point. As players access higher-quality resources, the gathering also becomes more profitable. In addition, unlocking The Firmament will give gatherers a new area to gather. The Company-issued Survival Manuals should be replaced with the Revised Survival Manuals by level 60. Up until level 80, these items grant players a 150% experience point bonus. The impact is halved after reaching level 80. The Firmament and the boosts eliminate the need for gatherers to use any suggested gathering techniques. At level 70, crystarium will help you handle the quests. Also, here are the quests you will encounter as you progress from level 61 to 80.

Quest NameGathered Item(s)Quest Level
You Say Popoto, I Say…20x Wild Popoto & The Fringes (X: 11, Y: 25)63
Walking for Walker’s20x Walker’s Popoto & Ruby Sea (X: 7, Y: 8.5)65
The White Death20x Nanoriso & Ruby Sea (X: 13.5, Y: 16)68
Edgyth’s Winning Streak5x Rhalgr’s Streak & The Lochs (X: 5.7, Y: 8.7)70

The Recommended gear sets for these quests are the Serpentskin Gathering Set for levels 60 through 65, the Kudzu Set of Gathering for levels 48-53, and Landking’s Set for levels 70 through 80.

Levelling to 90

For levels 80 through 90, there is no specific guide as of now. By reaching level 80, you have learned everything essential you need as a botanist. Your aim should be to collect items now. These items will provide you with millions of EXPs. This might be time-consuming, but given the amount of EXPs, it’s worth collecting them. Players are free to do whatever they want once they achieve level 90. They can either resume killing enemies in dungeons or carry on making money from botany. They might also think of advancing to the top of the mining industry. This will be all from us for now. Stay Tuned with us for more updates.

ffxiv gil

Final Fantasy XIV Samurai Guide

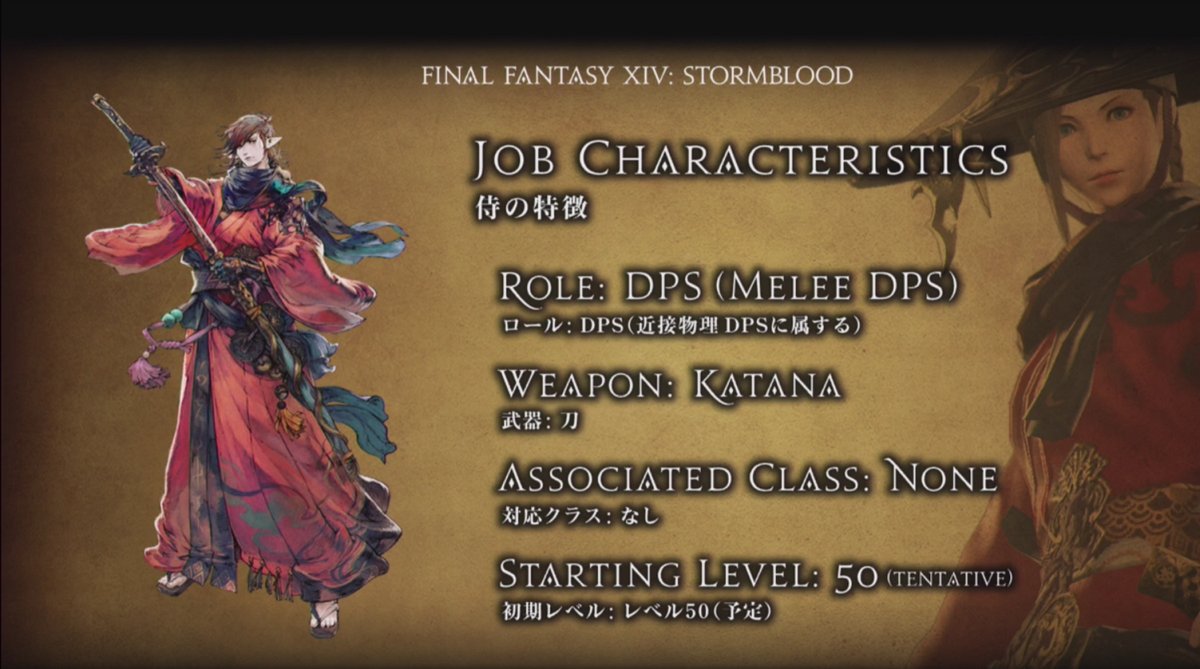
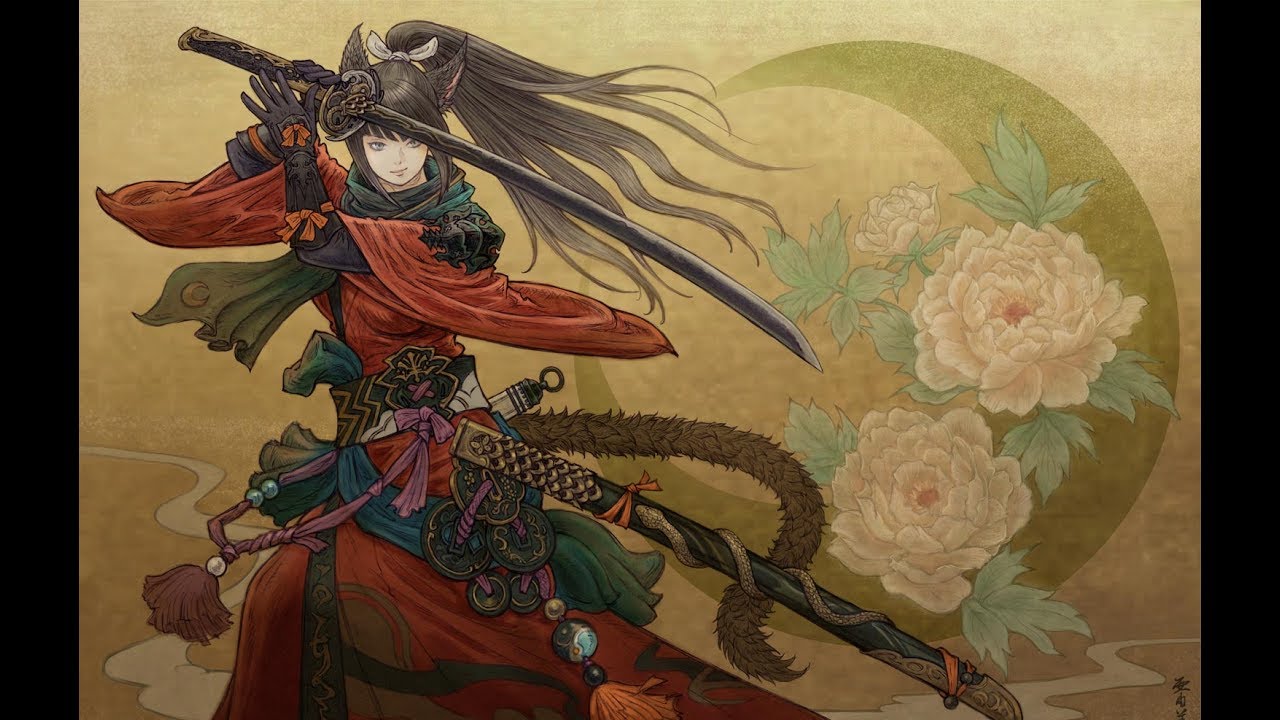
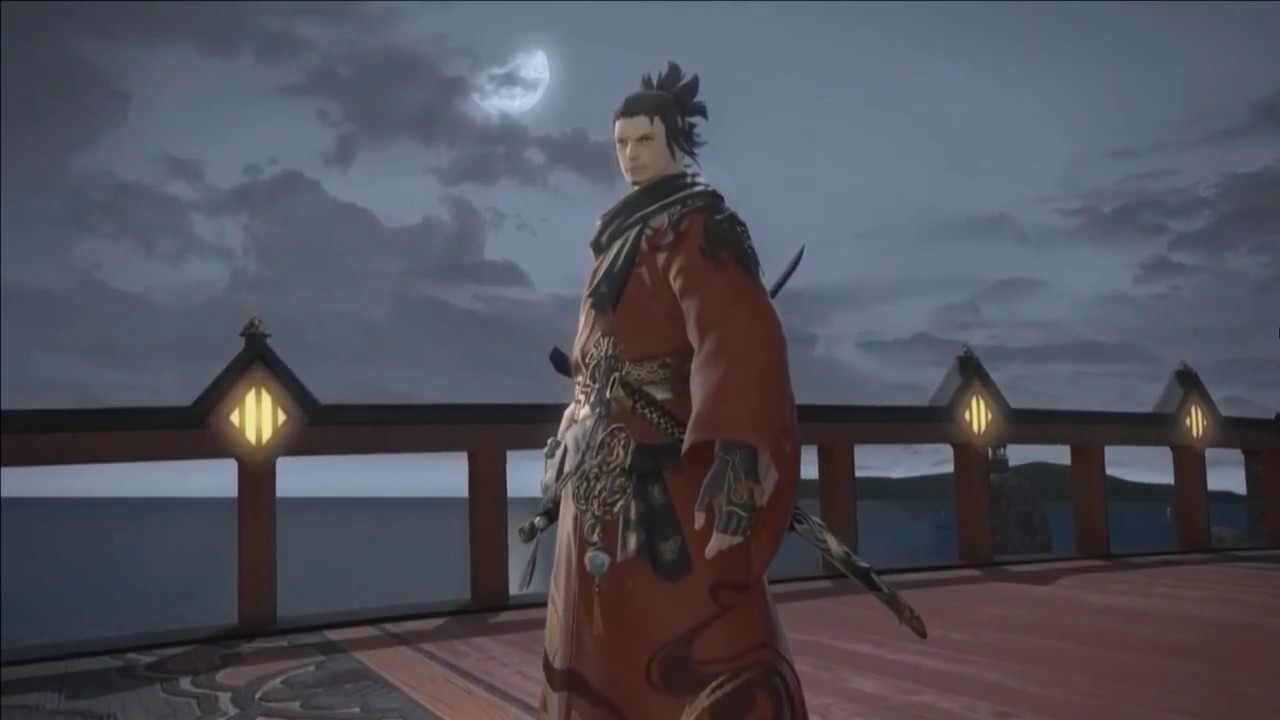
Final Fantasy XIV features several job roles that are incredibly exhilarating and fun to play around with. Those already into the game know how popular the role of Melee DPS can be. Among the many other roles which can be encountered in the game, that of Samurai is surely gaining a lot of popularity among the players. Ever since its introduction in the Stormblood Expansion, the role of Samurai was an instant hit for newcomers and experienced players alike. 

Final Fantasy XIV’s Samurai role is a melee DPS role. Various melee DPS roles are available in the game, but this one is undoubtedly the most popular among the community members. Being a Samurai lets you use the Katana to make Kenki and Sen. You can later release various solid combo moves using these two. Like other jobs, Samurai also needs some basic requirements that you must pass. Although, Samurai roles do not have a base class.

If you are just a beginner, you might find this job a bit difficult, but once you get the hang of things, it will be an almost smooth sail. For all those who are looking to start with the Samurai role, we have prepared this article to help you. Read along to learn more about the samurai job types and how to use them. Let’s begin then.

Samurai Gameplay

Samurai role is a no-utility, high-damage melee task which provides a moderately lithe burst opening. They have a main stat of Strength and use the Katana. They also share their striking equipment with monks. Samurai doesn’t provide any raid perks or party benefits all over its own. As an alternative, it surpasses by taking advantage of the boosts given by the other party members, packing each burst opening with unrivaled power. 

Rotating between three fundamental combos to maintain two boosts and gain items, basically Kenki and Sen. This is all about the basis of the game’s Samurai role gameplay. First, Samurai release a powerful burst of tremendous attacks every 120 seconds, followed by a weaker burst at each interval of 60 seconds.

Moving or holding these burst openings is quite challenging because they necessitate a mostly GCD-based format. Therefore, a significant deal of Samurai’s development and the boost comes from altering your rotation in each fight. However, you can try this on a per-mechanic basis. Samurai job contains a low entrance barrier, but it requires a high ability ceiling to know how to change a character’s rotation differently to get around rules and keep benefiting from your team’s raid bonuses.

Final Fantasy XIV Samurai

Become a Samurai

Samurai role is not like other melee DPS jobs or any job seen in the Final Fantasy XIV game. By this, we mean, like other jobs available when you start the game, you won’t get the role of Samurai when you start with your character. Also, as we mentioned already, the Samurai role does not have a base class. So let’s now discuss the basic requirements to become a Samurai in the Final Fantasy XIV game. 

The very first requirement is Stormblood Expansion. A player must own it in order to become a Samurai. As you might have guessed, the second requirement is ranking on Level 50 in Disciple of War or Magic; once you attain these two requirements, head to Ul’dah for the next steps. 

Beginners might find attaining these requirements tedious and sometimes hard. In addition, they require resources to complete quests and travel. To get these, use Gils, which you can easily get from our website.

Visit our website MMOPixel to buy FFXIV Gil. We only offer the best service.

“The Way of the Samurai” Quest

As mentioned – own Stormblood expansion, reach level 50 in Disciple of War or Magic, and then go to Ul’dah. When you reach the Steps of Nald, you have to interact with the Ul’dahn Citizen, to begin with the quest known as The Way of the Samurai. When you complete this quest, your journey as a Samurai will begin. Become a samurai and keep leveling until you reach the current max level available in the Final Fantasy XIV game, level 90. There are ways to lessen the monotony and boredom associated with leveling up a new job, especially in endgame material.

Strengths of a Samurai

  • This is the 1st line
  • Low skill floor, high-skill ceiling.
  • Powerful 2-minute burst windows.
  • A large number of alternatives to spend your precious resources on.
  • Easy upkeep on self-buffs. 
  • High mobility in Hissatsu: Yaten and Hissatsu: Gyoten

Weaknesses of a Samurai

  • Damage-only party utility; job usefulness mainly reliant on player ability.
  • Burst windows require some planning, making it challenging to recover from deaths or extended downtime.
  • Having a wide range of unique talents comes at a cost that results in bloated hotbars.
Final Fantasy Samurai Guide

Let’s talk about Samurai Job Actions now.

Samurai Job Actions

Hakaze – a Level 1 action with a recast of 2.5s. This Weaponskill Type action delivers an awesome attack power of 200. It also provides a side effect in which Kenki Gauge is incremented by 5.

Jinpu – a Level 4 action with a recast of 2.5s. This Weaponskill Type action delivers an awesome attack power of 200. It also provides a combo bonus in which Kenki Gauge is incremented by 5. Fugutsu effects gained from the combo bonus can increase DMG dealt by 13%.

Third eye – a Level 6 action with a recast of 15s. This Ability Type action decreases DMG taken in the following attack by 10%. Other perk includes increased Kenki Gauge by 10 when hit.

Enpi – a Level 15 action with a recast of 2.5s. This Weaponskill Type action delivers a distance attack power of 100. It also provides a side effect in which Kenki Gauge is incremented by 10.

Shifu – a Level 18 action with a recast of 2.5s. This Weaponskill Type action delivers an awesome attack power of 200. It also provides a side effect in which Kenki Gauge is incremented by 5. Also causes Fuka effect, which reduces the weaponskill cast and recast time by 13%.

Fuga – a Level 26 action with a recast of 2.5s. This is a Weaponskill Type action that delivers a 90 attack with effectiveness to all of your enemies in a cone in front of you. Additional Impact: 5 Kenki Gauge Increase.

Gekko – a Level 30 action with a recast of 2.5s. This is a Weaponskill Type action that delivers an attack power of 120, and if an attack from behind the enemy, then 170. It also provides a side effect in which Kenki Gauge is incremented by 10.

Iaijutsu – a Level 30 action with a recast of 2.5s. This is a Weaponskill Type action which, based on the amount of Sen currently stored in the Sen Gauge, performs a weaponskill.

Magnetsu – a Level 35 action with a recast of 2.5s. This Weaponskill Type action delivers an attack power of 100 to all the opponents within reach. It also provides a side effect in which Kenki Gauge is incremented by 10.

Kasha – a Level 40 action with a recast of 2.5s. This Weaponskill Type action delivers an awesome attack power of 120. It also provides a side effect in which Kenki Gauge is incremented by 10 with additional benefits.

Oka – a Level 45 action with a recast of 2.5s. This Weaponskill Type action delivers an attack power of 100 to all the opponents within reach. It also provides a side effect in which Kenki Gauge is incremented by 10.

Yukikaze – a Level 50 action with a recast of 2.5s. This Weaponskill Type action delivers an awesome attack power of 120. It also provides a side effect in which Kenki Gauge is incremented by 15 with additional benefits.

Meikyo Shisui – a Level 50 action with a recast of 55s. This is an Ability Type action in which up to three weaponskill combos without first fulfilling the conditions for the combo. Does not impact Ogi Namikiri or Iaijutsu. The additional effect depends upon your attack. For example, if you managed to land Gekko, you get Fugetsu; else, if you managed to land Kasha, you get Fuka.

Hissatsu: Shinten – a Level 52 action with a recast of 1s. This is an Ability Type action that delivers an attack power of 250.

Hissatsu: Gyoten – a Level 54 action with a recast of 10s. This Ability Type action delivers an attack power of 100 by quickly getting close to the enemy. Although, this attack can’t be executed within bound.

Hissatsu: Yaten – a Level 56 action with a recast of 10s. This Ability Type action delivers an attack power of 100 by quickly getting close to the enemy. Although, this attack can’t be executed within bound.

Meditate – a Level 60 action with a recast of 60s. This is an Ability Type action that gradually increases your Kenki Gauge. It also cancels auto attack when executed. The Additional effect of this action includes getting Stacks of Meditation.

Hissatsu: Kyuten – a Level 62 action with a recast of 1s. This is an Ability Type action that delivers an attack power of 120.

Hagakure – a Level 68 action with a recast of 5s. This Ability Type action creates Kenki from Setsu, Getsu, and Ka. Your Kenki Gauge is increased by 10 for each Sen converted. Can only be carried out while at least one of the three statuses is in place.

Ikishoten – a Level 68 action with a recast of 120s. This is an Ability Type action that increases Kenki Gauge by 50. Additionally, makes Ogi Namikiri Fully prepared for 30 seconds. Although it can only be carried out during battle.

Hissatsu: Guren – a Level 70 action with a recast of 120s. This is an Ability Type action that delivers an attack with a potency of 500 to the first enemy and 25% less to all other enemies in a straight line in front of you. Senei and Hissatsu share a recast timer.

Hissatsu: Senei – a Level 72 action with a recast of 120s. This Ability Type action delivers an amazing attack power with 800 potency. Senei and Hissatsu share a recast timer.

Tsubame Gaeshi – a Level 76 action with a recast of 60s. This Ability Type action repeats the Iaijutsu that was just finished. It can only be used after Iaijutsu and only then. Additionally, upon execution, it starts the cooldown on weaponskills. It cannot be used, though, when weaponskills are on cooldown.

Shoha – a Level 80 action with a recast of 15s. This Ability Type action produces an attack with a 520 potency. It can only be used after using Iaijutsu, Meditate, or Ogi Namikiri to gain three stacks of Meditation while engaged in combat. After execution, the effects of Meditation diminish. It shares a timer for recasts with Shoha II.

Shoha II – a Level 82 action with a recast of 15s. This Ability Type action produces an attack with a 200 potency. It can only be used after using Iaijutsu, Meditate, or Ogi Namikiri to gain three stacks of Meditation while engaged in combat. After execution, the effects of Meditation diminish. It shares a timer for recasts with Shoha.

Fugo – a Level 86 action with a recast of 2.5s. This Ability Type action delivers an attack power of 100 to all the nearby opponents. It also provides a side effect in which Kenki Gauge is incremented by 10.

Ogi Namikiri – a Level 90 action with a recast of 2.5s. This Weaponskill Type action delivers a critical hit with a potency of 800 to the first opponent and 75% less to all other opponents in a zone in front of you. When under a critical hit rate-raising effect, the damage is boosted. It can grant a stack of Meditation up to 3 times. Though it can only be executed when under the effect of Ogi Namikiri Ready.

Kaeshi: Namikiri – a Level 90 action with a recast of 1s. This is an Ability Type action that delivers a critical hit with a potency of 800 to the first opponent and 75% less to all other opponents in a zone in front of you. When under a critical hit rate-raising effect, the damage is boosted. It also starts the cooldown of weaponskills when executed.

Apart from these Samurai Actions, various Role Actions and Samurai Traits can be used in the game for several powerful effects they can cause.

Final Fantasy Samurai Details

Role Actions are:

  • Second Wind – It helps to restore the player’s HP automatically.
  • Leg Sweep – Stuns the target.
  • Bloodbath – It converts physical DMG dealt to the enemy into your HP.
  • Feint – reduces the target’s ability to deal magic and physical damage by 5% and 10%, respectively.
  • Arm’s Length – makes a barrier that blocks most knockback and draw-in effects.
  • True North – voids all requirements for action direction.

Samurai Traits are:

  • Kenki Mastery – increases the Kenki gauge when certain weaponskills are executed or when damage is sustained when the Third Eye effect is active.
  • Kenki Mastery II – when landing all weaponskills excluding iaijutsu, Kenki Gauge is increased.
  • Way of the Samurai – raises the effectiveness of Shifu, Jinpu, and Hakaze to 200, 120, and 120, respectively.
  • Enhanced Iaijutsu – Iaijutsu spell time is shortened to 1.3 seconds.
  • Enhanced Fugetsu and Fuka – Improves Fuka’s decrease of weaponskill cast and recast time, spell cast and recast time, and auto-attack delay to 13%, while improving Fugetsu’s damage increase to 13%.
  • Way of the Samurai II – brings Gekko, Kasha, and Yukikaze’s potency up to 120.
  • Enhanced Tsubame-gaeshi – enables the Tsubame-gaeshi to accumulate charges for subsequent uses.
  • Fuga Mastery – transforms Fuga into Fuko.
  • Enhanced Meikyo Shisui – enables the Meikyo Shisui to accumulate charges for repeated uses.
  • Enhanced Ikishoten – Ogi Namikiri grants are ready upon Ikishoten execution.

You will get to know many other parts of Samurai Job when you start playing the game. In this article, we’ve tried to cover the basics of Final Fantasy XIV Samurai Guide. This will be all from us for now. Stay tuned with us for more updates.

Source: https://www.mmopixel.com/news/final-fantasy-xiv-samurai-guide.html